Mechanical keyboards are not a new development in the world of computing, in-fact they are almost as ancient as the personal computer itself. Believe it or not, he first IBM computer came equipped with a mechanical keyboard.
Currently, you can get mechanical keyboards in all shapes and sizes alongside custom weights on your keys, custom key caps and even custom lighting under each key.
You can even get different shapes and molds of custom keyboards all depending on your tastes and preferences. There are plenty of custom mechanical keyboards available online where you just need to take your pick.
In this article, we will delve into what it takes to build a custom mechanical keyboard by yourself and what types of parts you need to accomplish that
Even if you don’t plant to build a keyboard from scratch, this guide will give you a great grasp on many techniques to customize your current keyboard even further.

Choosing the right parts for your custom keyboard
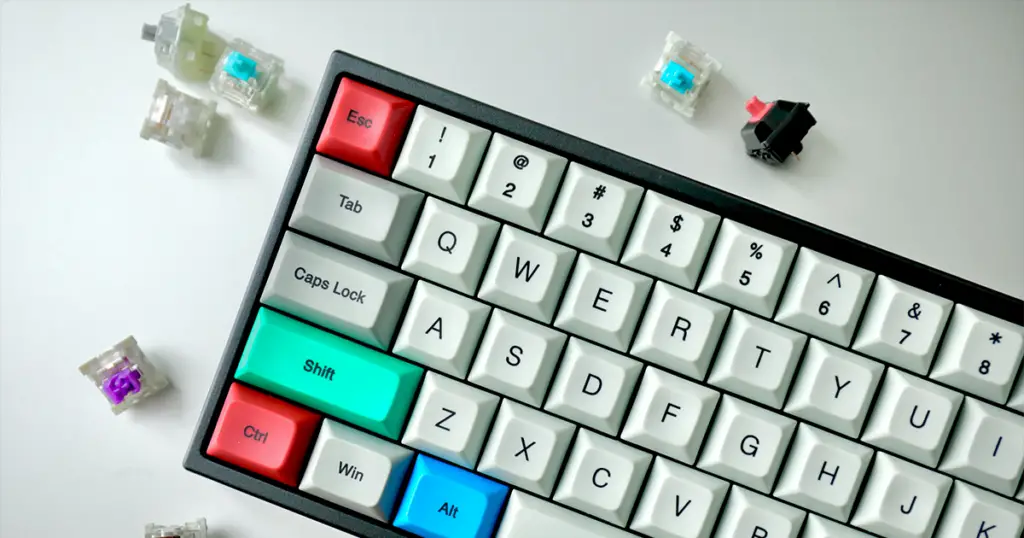
Mechanical keyboards differ from regular keyboards in a few aspects.
Mechanical keyboards have different keystrokes and have they have a specific weighted springs underneath, which can be customized to a users liking.
They come in all types of custom shapes and sizes. The parts under the actual key caps are referred to as switches. They make the actual clicking sound when pushed down, giving the mechanical illusion to the user.
Mechanical keys require more force than normal keyboards which is why you usually love them or hate them.
There are tons of features you need to take into consideration when starting the build. These include things like the case, switches, mounting plate, key caps and much more.
We recommend you choose a few favorites out of each category at first and then try to figure out how well they actually work together.
Building a custom mechanical keyboard is just as much fun as building your first gaming computer.
It does require research, time and some money, but in the end it’s a thousand times better and more satisfying compared to a boring pre-built normal keyboard.
Custom casing style
Mechanical keyboards come in a variety of sizes varying from 40% to 60% or even oversize.
You have plenty of case materials to choose from and it will be the most significant feature deciding what the overall keyboard will look like so take care when deciding which one to use.
The material of the keyboard casing depends heavily on your budget as well and doesn’t really change any functionality of the keyboard itself.
Higher quality materials will ensure the keyboard will stay in mint condition for longer. They also provide different haptic feedback to the touch. There are four main materials available on the market currently. They consist of:
- Aluminum
- Plastic
- Wood
- Clear Acrylic
Aluminum
Aluminum is one of the most optimal materials for a custom mechanical keyboard case. It makes for a solid, strong case and it’s extremely durable.
It provides a premium look which is of the factors that makes it better than a regular case.
An aluminum case also creates more noise than the other materials. Keep that in mind you’re looking for a more quiet mechanical keyboard. If it is an issue, you might want to opt for one of the other materials.
Plastic
Plastic cases are the cheapest alternative, but also the most popular option. They are worth investing in for most people.
These types of cases show fewer scratches or fingerprints. Plastic casings are often provided in a few plain colors, as they’re easier to manufacture. If you’re looking for a more unique look for your casing, you might have to look elsewhere.
Plastic cases dampen out a lot of the clicking noises so it might also be the best alternative if you are looking for a more quiet custom mechanical keyboard.
Wood
Using wood as the material in a mechanical keyboard case is a pretty rare choice, but they are definitely unique.
A wooden case provides a beautiful aesthetic and they are also very durable. This is a very specific look and definitely the most expensive option.
You might want to opt for a wooden casing if you really love the look and feel of wood in general. Definitely something to keep in mind.
Acrylic
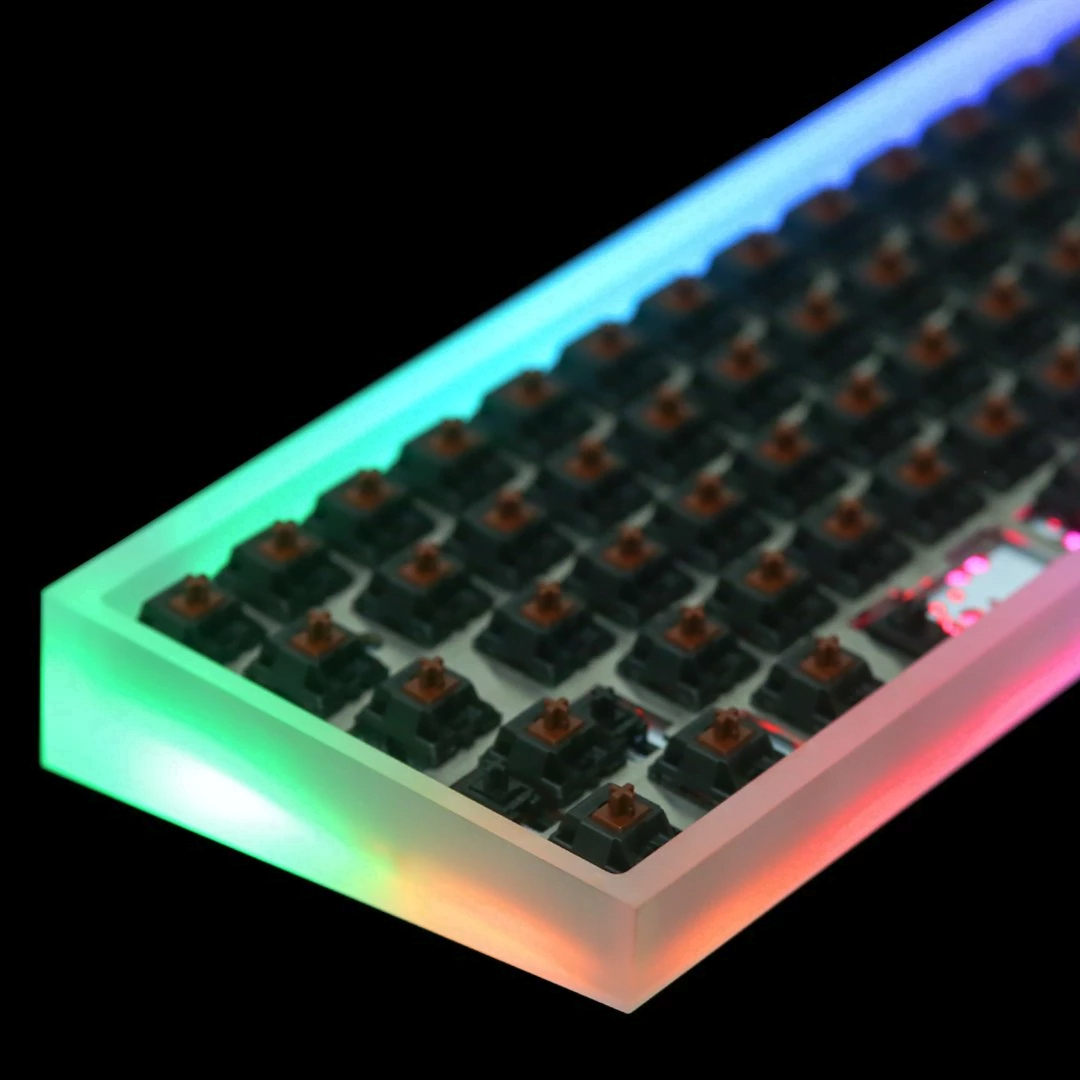
Clear Acrylic cases are also very common nowadays, as they are made out of plastic and offer better brightness and spread for RGB lighting.
Acrylic is one of the most popular materials for gaming keyboards, as RGB lighting is the new norm in the twenty first century. If you are looking for a custom backlit keyboard, you might want to go for a clear acrylic case.
Printed Circuit Board (PCB)
Now that you’ve found the optimal casing for your custom mechanical keyboard, next up is the PCB.
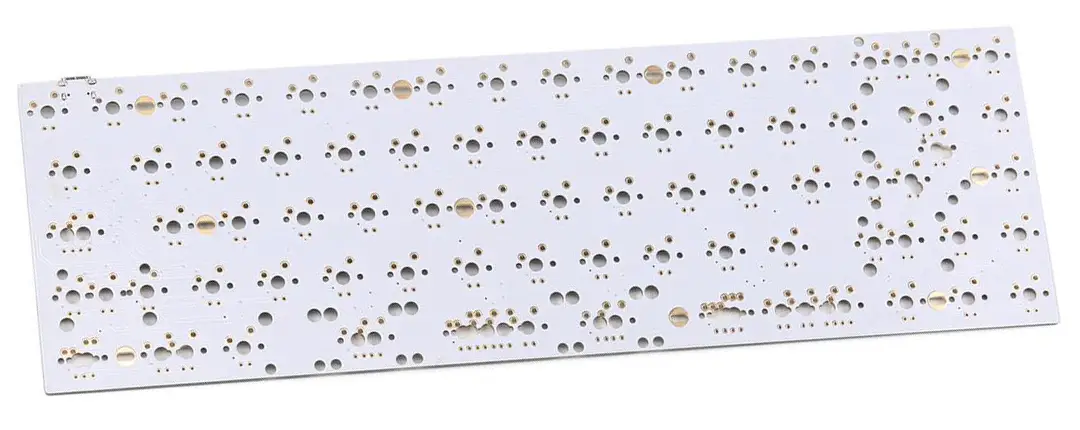
The PCB is essentially the heart of your keyboard. It basically holds your switches in place and allows for them to make a connection with the process controls and produce an input.
The printed circuit boards come in different shapes, sizes and qualities. The one you need to choose depends on the shape and size of your case.
You also need different types of switches depending on if you use only a PCB without a mounting plate, as the switches need special guiding pins integrated in them, so they are steady while typing.
Standard PCB
A standard circuit board will require you to solder switches into the board itself, so it requires more work. In the end it is the more durable and reliable option when used correctly.
A standard PCB is also the cheaper option and it is often more lightweight and simpler in construction.
Hot-Swappable PCB
A normal PCB requires you to solder on the switches and that is usually a permanent decision as it would be a lot of work to remove the switches.
A hot swap PCB basically allows you to insert any suitable switches into board without the need for any sort of soldering.
This kind of PCB is definitely more pricey, but saves a lot of time, money and effort when building your custom keyboard.
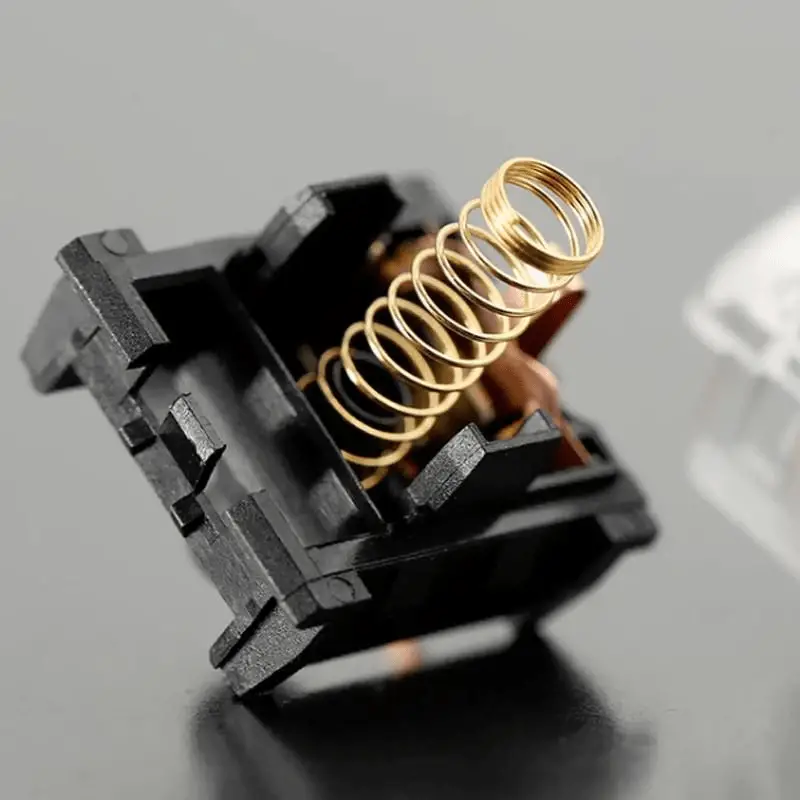
Best switches for you
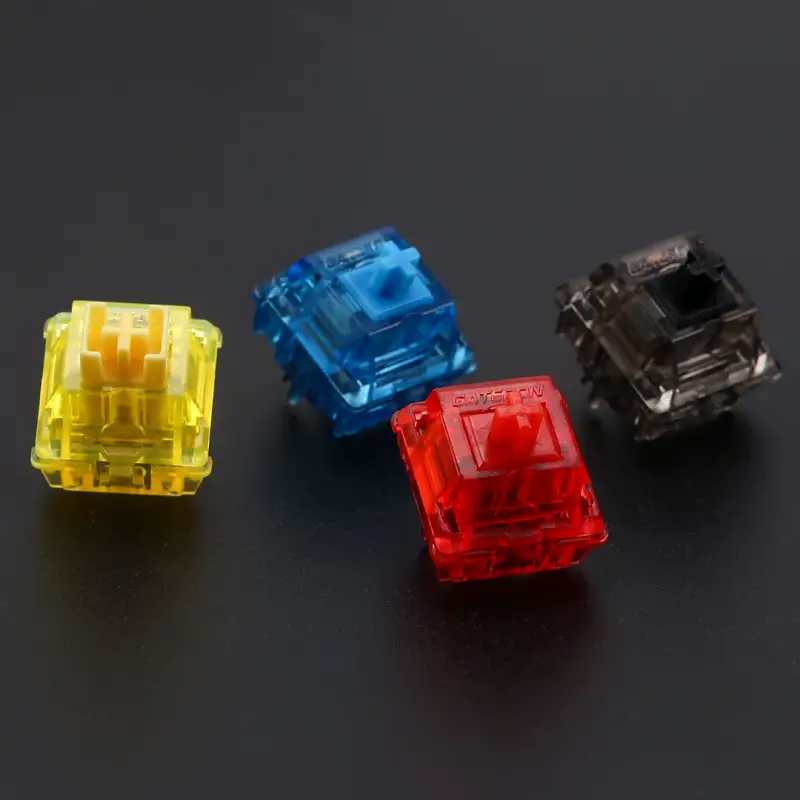
Switches work all the same but they come in tons of different varieties. The most popular varieties and the only ones you should consider consist of 3 brands of switches.
They are the Cherry, Gateron and Khail switches. Each switch performs differently from each other and each switch has different pressure springs.
Choosing your favorite switch all comes down to what you intend to use your keyboard for. If you’re mainly a gamer, you might want to go for a variety of the Cherry MX switches. They provide optimal reaction times and pressure. They’re also fairly loud compared to the other brands.
Typists or office workers often choose the Khail brand of switches. They’re usually a little less noisy and require less force when pushing them down. This allows for faster typing but not as much haptic feedback.
You can even order some tester kits online. They consist of a pad of all different kinds of switches. That way you can test out which ones you like the most.
If you only use a PCB for mounting your switches, you need switches with special guide pins integrated in them to help with alignment. Switches used with a mounting plate don’t require those pins as the plate holds them securely in place.
Mounting Plate for the switches
A mounting plate goes over the PCB and it is not necessary, but it provides structural integrity and steadiness to the keyboard. It is highly recommended if you have the budget for it.
The mounting plate holds the switches in place securely and makes them a lot steadier.
When using a mounting plate, switches don’t need special guiding pins as the plate holds them in place without extra help. This also means you need to make sure to buy switches without guide pins, as otherwise they won’t fit in.
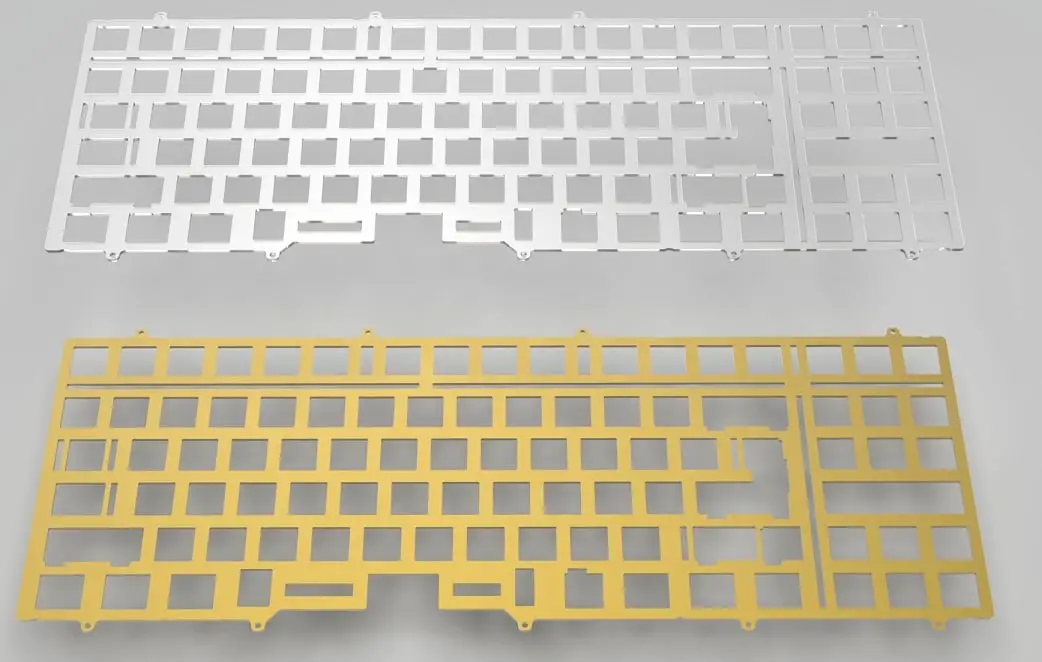
The plate can be ordered in any size and needs to be chosen according to your case size. You need to make sure your mounting layer plate the layout and PCB you choose.
Other than that, there are no other factors you need to worry about when choosing which mounting plate to buy.
A higher quality mounting plate will bend less and provide a more solid structure for your keyboard. It will also have a slight effect on the noise level of the overall keyboard.
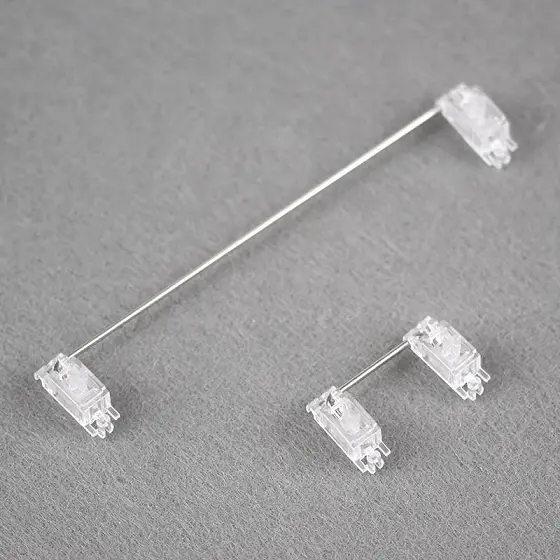
Stabilizers for your keys
Stabilizers keep certain keys from wobbling around. They are usually placed under larger keys such as the spacebar, shift and enter keys.
They’re not a required part of the build, but we highly recommend you get a few spares just in case you notice some keys need more support while typing.
Heavy switches will cause more wobbliness on bigger keys as they bounce with more force than lighter switches.
This also depends on what kind of key caps you decide to get for your build.
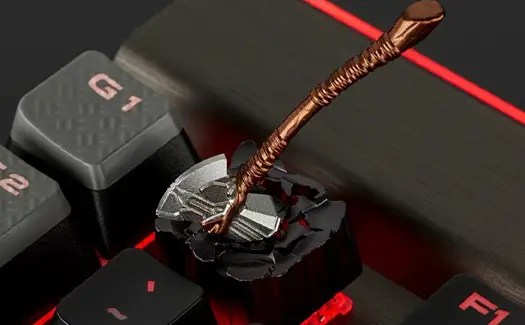
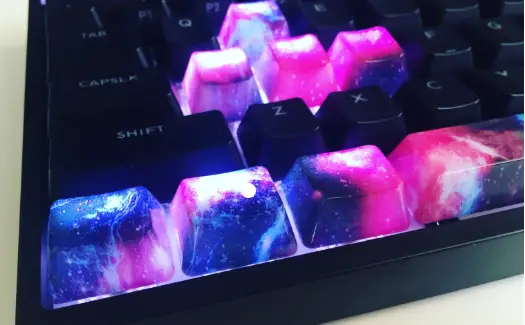
Key caps create the aesthetic
Alongside the casing, the key caps you decide to use provide the biggest aesthetic difference to the custom mechanical keyboard.
There are unlimited different types of key caps of all shapes and sizes. Some are even made out of metal and some are 3D printed into custom shapes.
There are tons of place where you can find cool custom key caps like AliExpress or Etsy.
They’re great for a few select special keys, but we recommend using official retailers for the rest of the keycaps. This ensures they match design wise and are of solid build quality.
You should also make sure the majority of your keys are the same height as to not make typing awkward.
Also keep in mind some materials are heavier than others. This means if you decide to get custom metallic keys, make sure your switches are strong enough to support them. Heavy key caps will press down lighter switches very easily.
Putting the custom mechanical keyboard together
The last and most complex step is to put all your cool new parts together. The building phase doesn’t really require special knowledge or experience in electronics.
Nonetheless the process might seem a bit daunting at first. If you get stuck or are not sure how to proceed, we recommend doing a search on YouTube.
This way you can see how to accomplish some of the more specific features. We did our best to explain all the steps in enough detail.
Tools needed for soldering
If you decide to go without a hot-swap PCB, you will need a few tools to attach all the parts together.
The first tool is a solder which is a wire of metal alloy that is melted by the solder iron. You also need the solder iron itself to melt the solder onto the connections.
Alongside the solder iron, a solder sucker is very useful so you can remove any faulty solder from the keys or the PCB. The last item you might want is a filtration system like a fan to get rid of the solder smoke. It’s not particularly good to breathe in so having a way to filter it out is recommended.
Building the Keyboard
The basic outline of the process for building your custom mechanical keyboard is as follows:
- Place the PCB into the casing for easier alignment
- Align the mounting plate in place
- Press your stabilizers onto your PCB
- Push the switches in place for soldering
- Remove the setup from the casing and solder the switches
- Secure the assembly into the casing
- Push in all your keycaps
Mounting Plate
First you should align the mounting plate in the correct position. This will be your frame onto which the switches go and you will be able to use it to properly position and align them.
If you don’t use one, just skip to the stabilizers and pushing in the switches directly to the PCB.
Before moving on to the soldering you should triple check that all the key switches are in their correct positions as it is not very fun (although not hard) to start de-soldering already placed switches.
Stabilizers
Installing the stabilizers is fairly simple. The big clips of the stabilizer go into the bigger holes while the small clips go into the ends of the smaller holes.
You need to apply a bit of pressure and push the stabilizer in. Make sure they are in the correct position before moving on, usually stabilizers are used on keys such as shift, spacebar and the enter keys.
Soldering
Next up is the soldering. Soldering one key in place only takes a second, so make sure not to apply pressure with the solder iron, as the solder will melt into place instantly and that’s all you need.
You should use as little of the solder material as possible, since you don’t want the contacts to touch each other, only the required positions of the key switch.
It might be pointless to point it out, but never touch the tip of the soldering iron with your finger or hand even if it’s unplugged. It burns at a maximum temperature of 3000 degrees celsius and will burn your skin even when it’s cooling down.
Always wear gloves when handling a soldering iron.
If you have never used a soldering iron before, we recommend checking a quick tutorial from YouTube first, the process is really simple once you get the main point of it.
Once you’re done soldering, screw the PCB into the casing with the provided screws.
Keycaps
The final step is to install your keycaps into place. This is the easiest and most satisfying step of the build.
If you had no issues with the soldering and alignment of the switches, attaching the keycaps should be simple.
Firmly push each key cap on to the switch. That’s really all you need to do. There usually is no click sound when pushing the key cap into place, so don’t use excessive force.
We recommend using an image of a full keyboard as reference when placing the keycaps. This way you know the keycaps are in the correct position.
Testing the fresh keyboard
Finally when you have your custom mechanical keyboard built and complete, you’re ready to plug it in to a computer.
Make sure everything is in place and shake the keyboard around a little to make sure nothing is loose or shaking.
Then just open up a text editor and make sure every single key is working as intended and type out the corresponding characters.
Now all there is left to do is enjoy your amazing new custom mechanical keyboard!