
Custom keyboard shortcuts are a lot easier to set up for Mac than for Windows due to built-in functionality.
Most system operations require multiple clicks on the screen or menus, while the job is would be doable with a simple key combination on your keyboard.
Apart from the standard list of shortcuts every operating system contains, specific software allows us to customize our own shortcuts according to our wants and needs.
Keyboard keys can be easily remapped to others on Windows with the use of SharpKeys, but Mac has much more convenient alternatives.
On an Apple Mac computer, you have the option to attach shortcuts to keyboard keys by default. This means there will be way less hassle and allows you to get more work done.
Making custom keyboard shortcuts on Mac OS
In order to make keyboard shortcuts on a Mac, you have to first select ‘System Preferences‘ and then ‘Keyboard‘.
Next, head to the ‘Shortcuts‘ tab from which you can disable or enable shortcuts anytime by just checking or unchecking the tick boxes.
The process of creating a new shortcut is also very simple and effortless.
To create a new shortcut, simply click on ‘App Shortcuts‘ and then the ‘Add’ button.
You will then be prompted for the keyboard key combination. The label on the shortcut menu should be precise and descriptive, so you remember what each shortcut is intended for.
You will also need to specify if the shortcut should be available on all applications or only a particular one. After clicking Add, your keyboard shortcut will become functional.
Under the ‘Services‘ label, you’ll find shortcuts to numerous functionalities of the Apple software. Although Apple already gives a lot of leverage to additional keyboard shortcuts, in case you want to add more, this can be accomplished through third party applications.
Using Alfred to make keyboard shortcuts on Mac
One example of above mentioned applications is called Alfred. The downside of it is that you can’t create keyboard shortcuts with the free version of the software.
In order to take full advantage of Alfred for keyboard shortcut creation, you need to subscribe to a Premium Powerpack membership.
To create a shortcut key combination, you need to click on ‘Workflow‘ from the Alfred ‘Preferences‘ pane and then click on the plus icon on the bottom left.
By selecting the ‘Templates‘ option, you can see what shortcuts are bound to files or other programs. You can check out the other features Alfred has to offer and download the software from their official website.
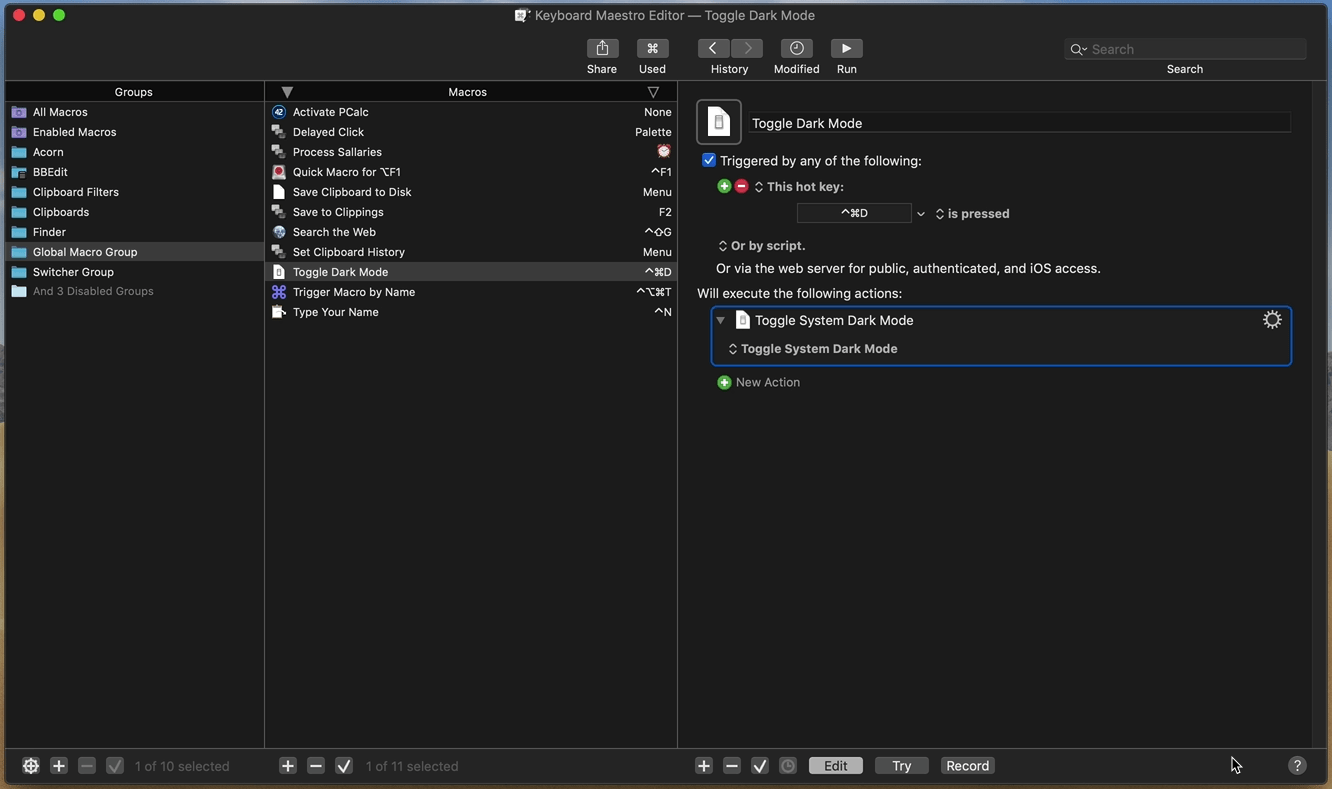
Using Keyboard Maestro to make shortcuts on Mac
Another option is Keyboard Maestro. This is another paid app and costs around 35 USD but it does have a free trial to test it out.
Keyboard Maestro allows you to create shortcuts for anything and everything, no matter how big or small the task at hand is.
This software is often used for larger automation workflows as well.
You can download the software on their official website. To create your shortcut, you first need to create a series of commands and then you bind them to a Hot Key.
For a more elaborate procedure, click on the ‘Help‘ menu and select ‘Tutorial‘. It goes through the required steps in depth.
The process tells you to select the add/plus button at the bottom of the screen to begin creating a new macro.
In order to initialize the macro, you will have to assign it to a hot key. After that, you can simply assign the action and your key is ready.
Using Microsoft Word to create custom shortcuts
Despite being a Microsoft product, Microsoft Word can be used to create shortcut keys on Mac as well.
All you need to do is open MS Word, select ‘Tools‘ from the menu and click on ‘Customize Keyboard‘.
A pop-up window will appear when you enter the customization view. All the programs are divided into multiple categories for easy navigation for the user.
This feature helps narrow down the command we want our shortcut to perform.
After selecting the category, you will notice a list of commands appears on the right side of the pane. After that you can just select your desired command.
Selecting the command can be very annoying when the list of available commands is long.
In order to power through this, you can try typing in keywords like ‘Save’, etc. Any command saved under that keyword will be listed below which helps narrow down the list to a more reasonable size. This makes it a lot easier for you to select the keyboard shortcut you wish to use.
You can also click on ‘description‘ to make sure you have selected the right one by reading it’s functionality from the description itself.
In case a shortcut already exists, the system will let you know of any duplicates as it will appear in the ‘Current Keys‘ box.
You can also change already listed shortcuts or add new ones to vacant spaces in MS Word.
In order to do that, you will have to select the command from the pop-up box, select ‘Press new keyboard shortcut‘, and type the keys you want use to access the shortcut.
You can then select if it should be applicable to all word documents or just on the specified document that’s open.