Screensharing on Windows has always required you to download separate software like Teamviewer in order to help a friend or showcase something to a colleague.
Thankfully Microsoft has added their own screen sharing functionality into Windows 10 free of charge.
The new tool is called Quick Assist and it allows you to take control of your friends’ screen and help them fix any issues or show them how to navigate around the complexities of Windows 10. It is the ultimate alternative to TeamViewer.
If you are looking for a solution to share videos or gameplay with your friends instead, you might be better off with Discord live screen sharing.
Quick Assist is already installed in all up-to-date versions of Windows 10 and all you need to do to open it up is type ‘Quick Assist’ in the search bar and open the app up.
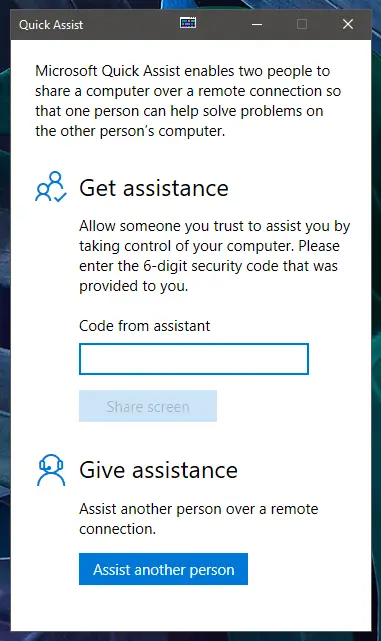
Now all you have to do is figure out whether you want to see your friends screen, or vice-versa.
If you simply want to see someone’s screen, all you need to do is ask for their code, enter it into the text field and click the ‘Share screen’ -button.
However, if you wish to share your own screen, you need your own code to give out, which requires an extra step.
In order to get your share-code, you need to register or sign-in to a Microsoft account.
To do that, click the ‘Assist another person’ -button. Odds are you already have signed into a Microsoft account through your operating system, in which case you will be signed in automatically.
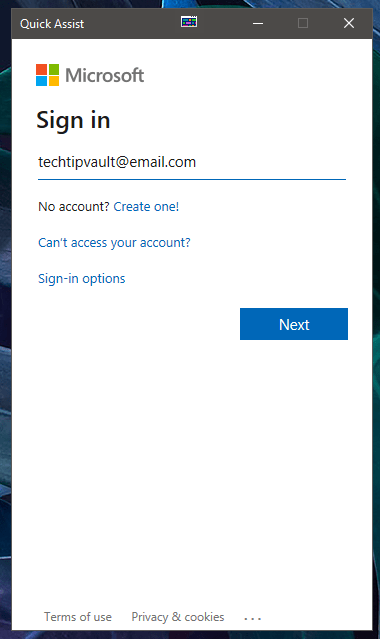

Once you’ve managed to login, you will be give your code which you can then give to the other person to enter to their own Quick Assist.
They have 10 minutes to enter the code, but once it’s entered, you have unlimited time to share your screen during that session.
Once you end the session, you will need to generate a new key, so you don’t need to worry about any unwanted access to your system.
How to operate Quick Assist
Once you manage to connect to your partners Quick Assist, you first need to select whether you wish to take full control of their system, meaning you can control their mouse and other features, or if you only wish to see what they are doing on their system.

Even if you select full control, your partner needs to then allow the connection and give permission for you to see their files. They still have full control of their mouse, even while you are using it.
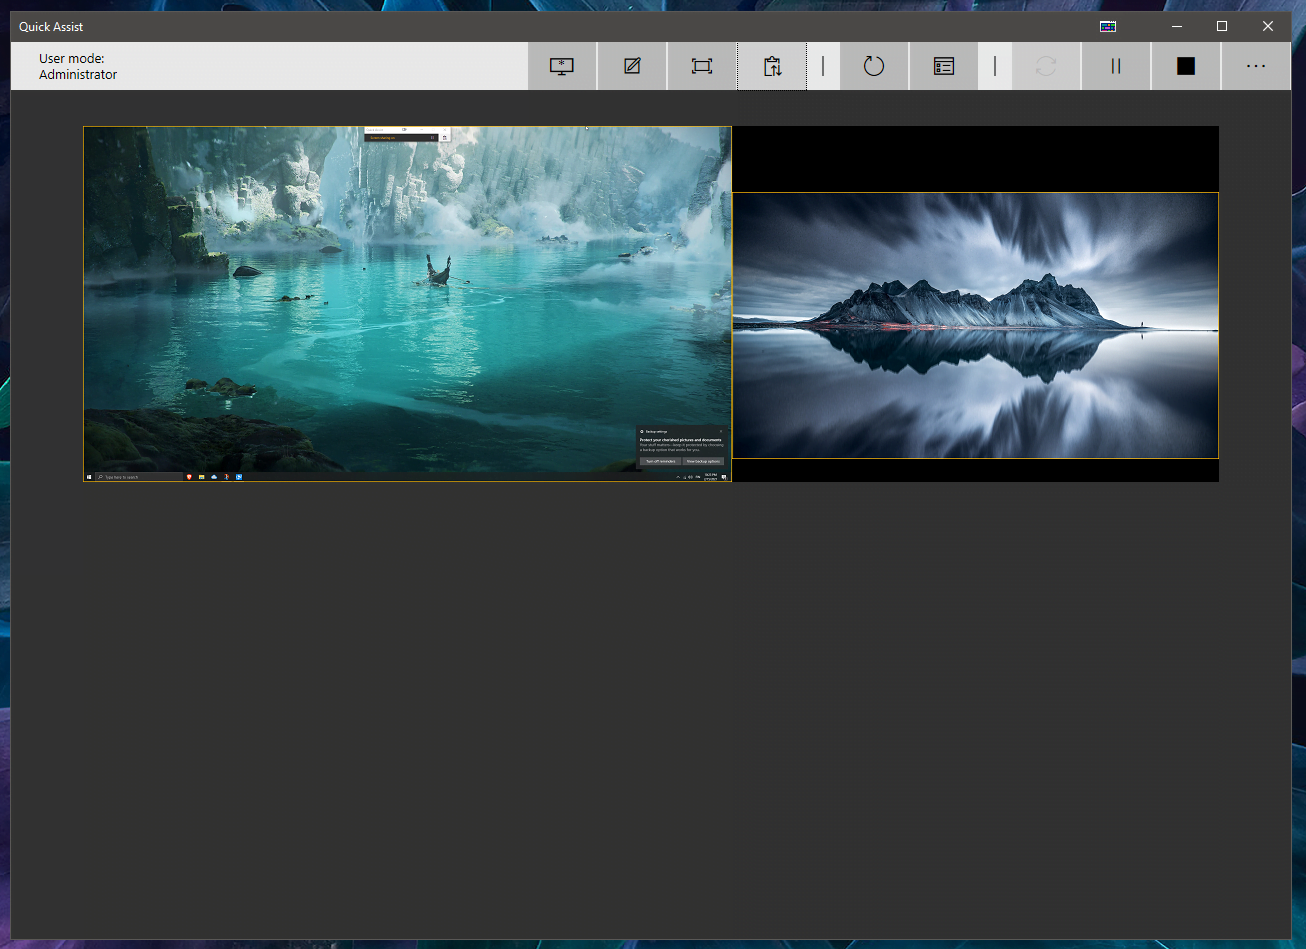
If you click the three dots at the top right corner, you will see descriptions for all the possible tools you can use.
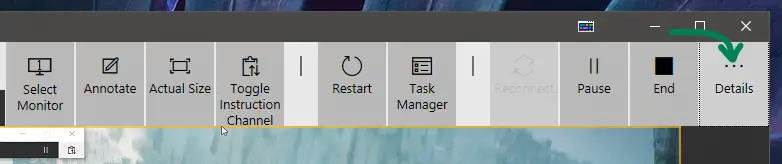
The first thing you should do is select a monitor to maximize, since if there are multiple monitors, they will be shown side-by-side and will be difficult to navigate. You can select a specific monitor from the leftmost button in the toolbar.
Now that you can see everything properly, the other tools you might want to take note of if helping someone with tech issues are the annotation and instruction channel tools.
The “Toggle Instruction Channel” basically allows you to send and receive text messages with the other person, which can be useful if you don’t have a call or audio chat running.

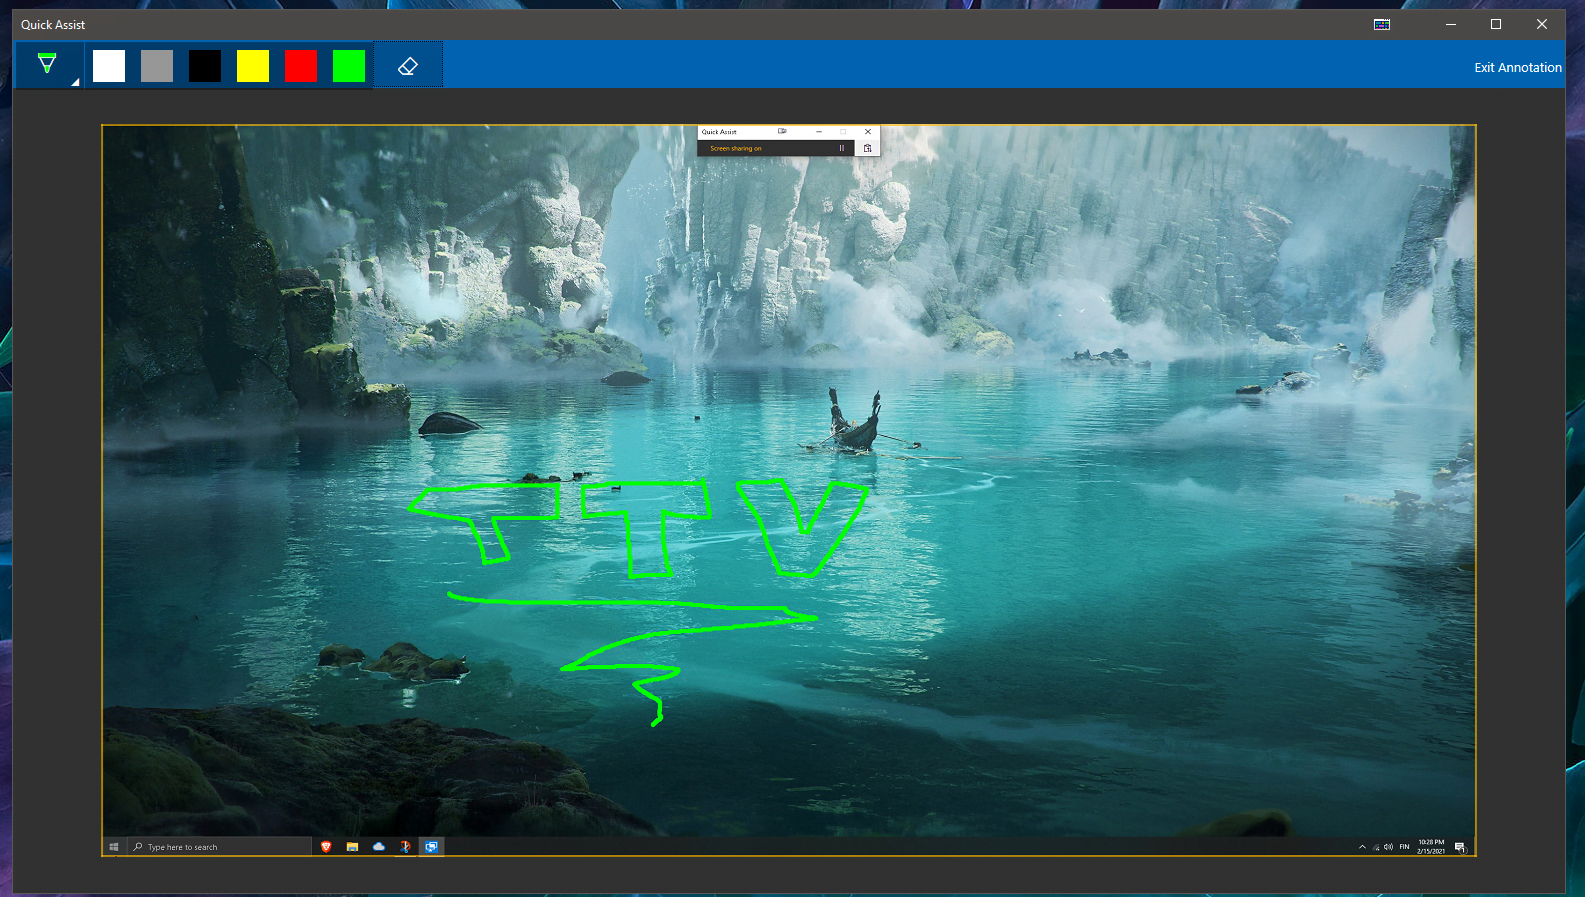
Finally the annotation tool allows you to quickly and easily draw on the other persons screen with different colors, which helps highlight things and share any insights while screen sharing.
In order to stop sharing the screen, simply press the stop button or close up Quick Assist.